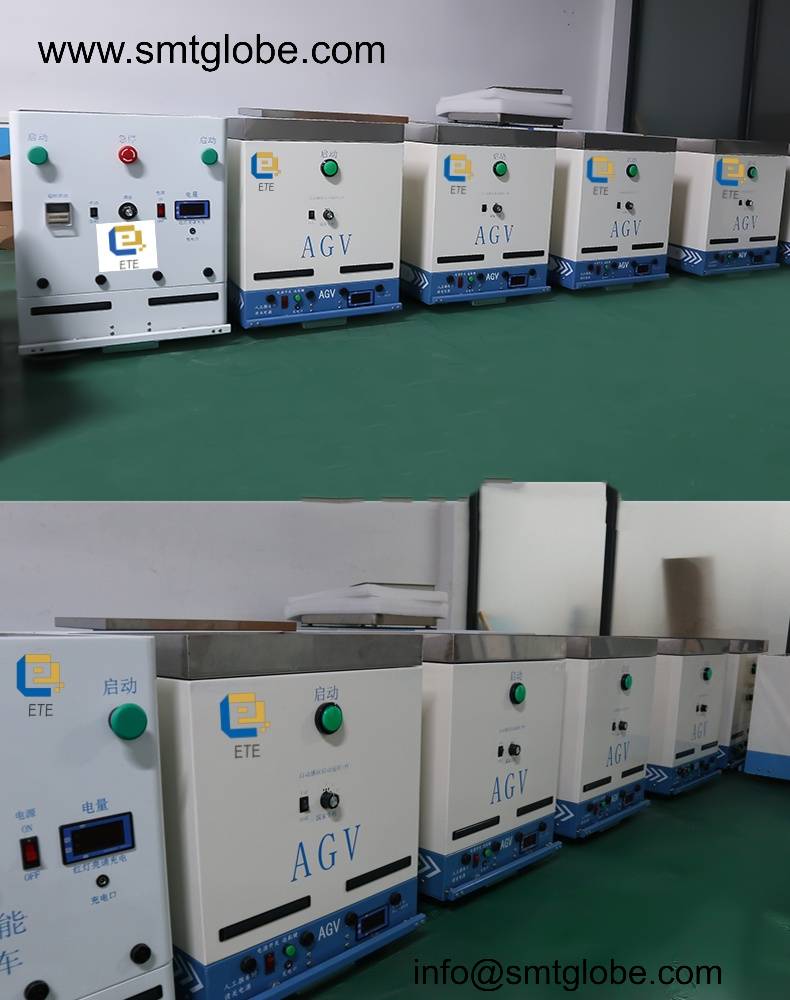
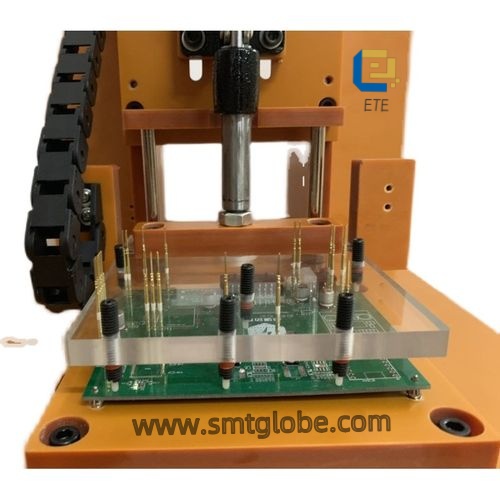
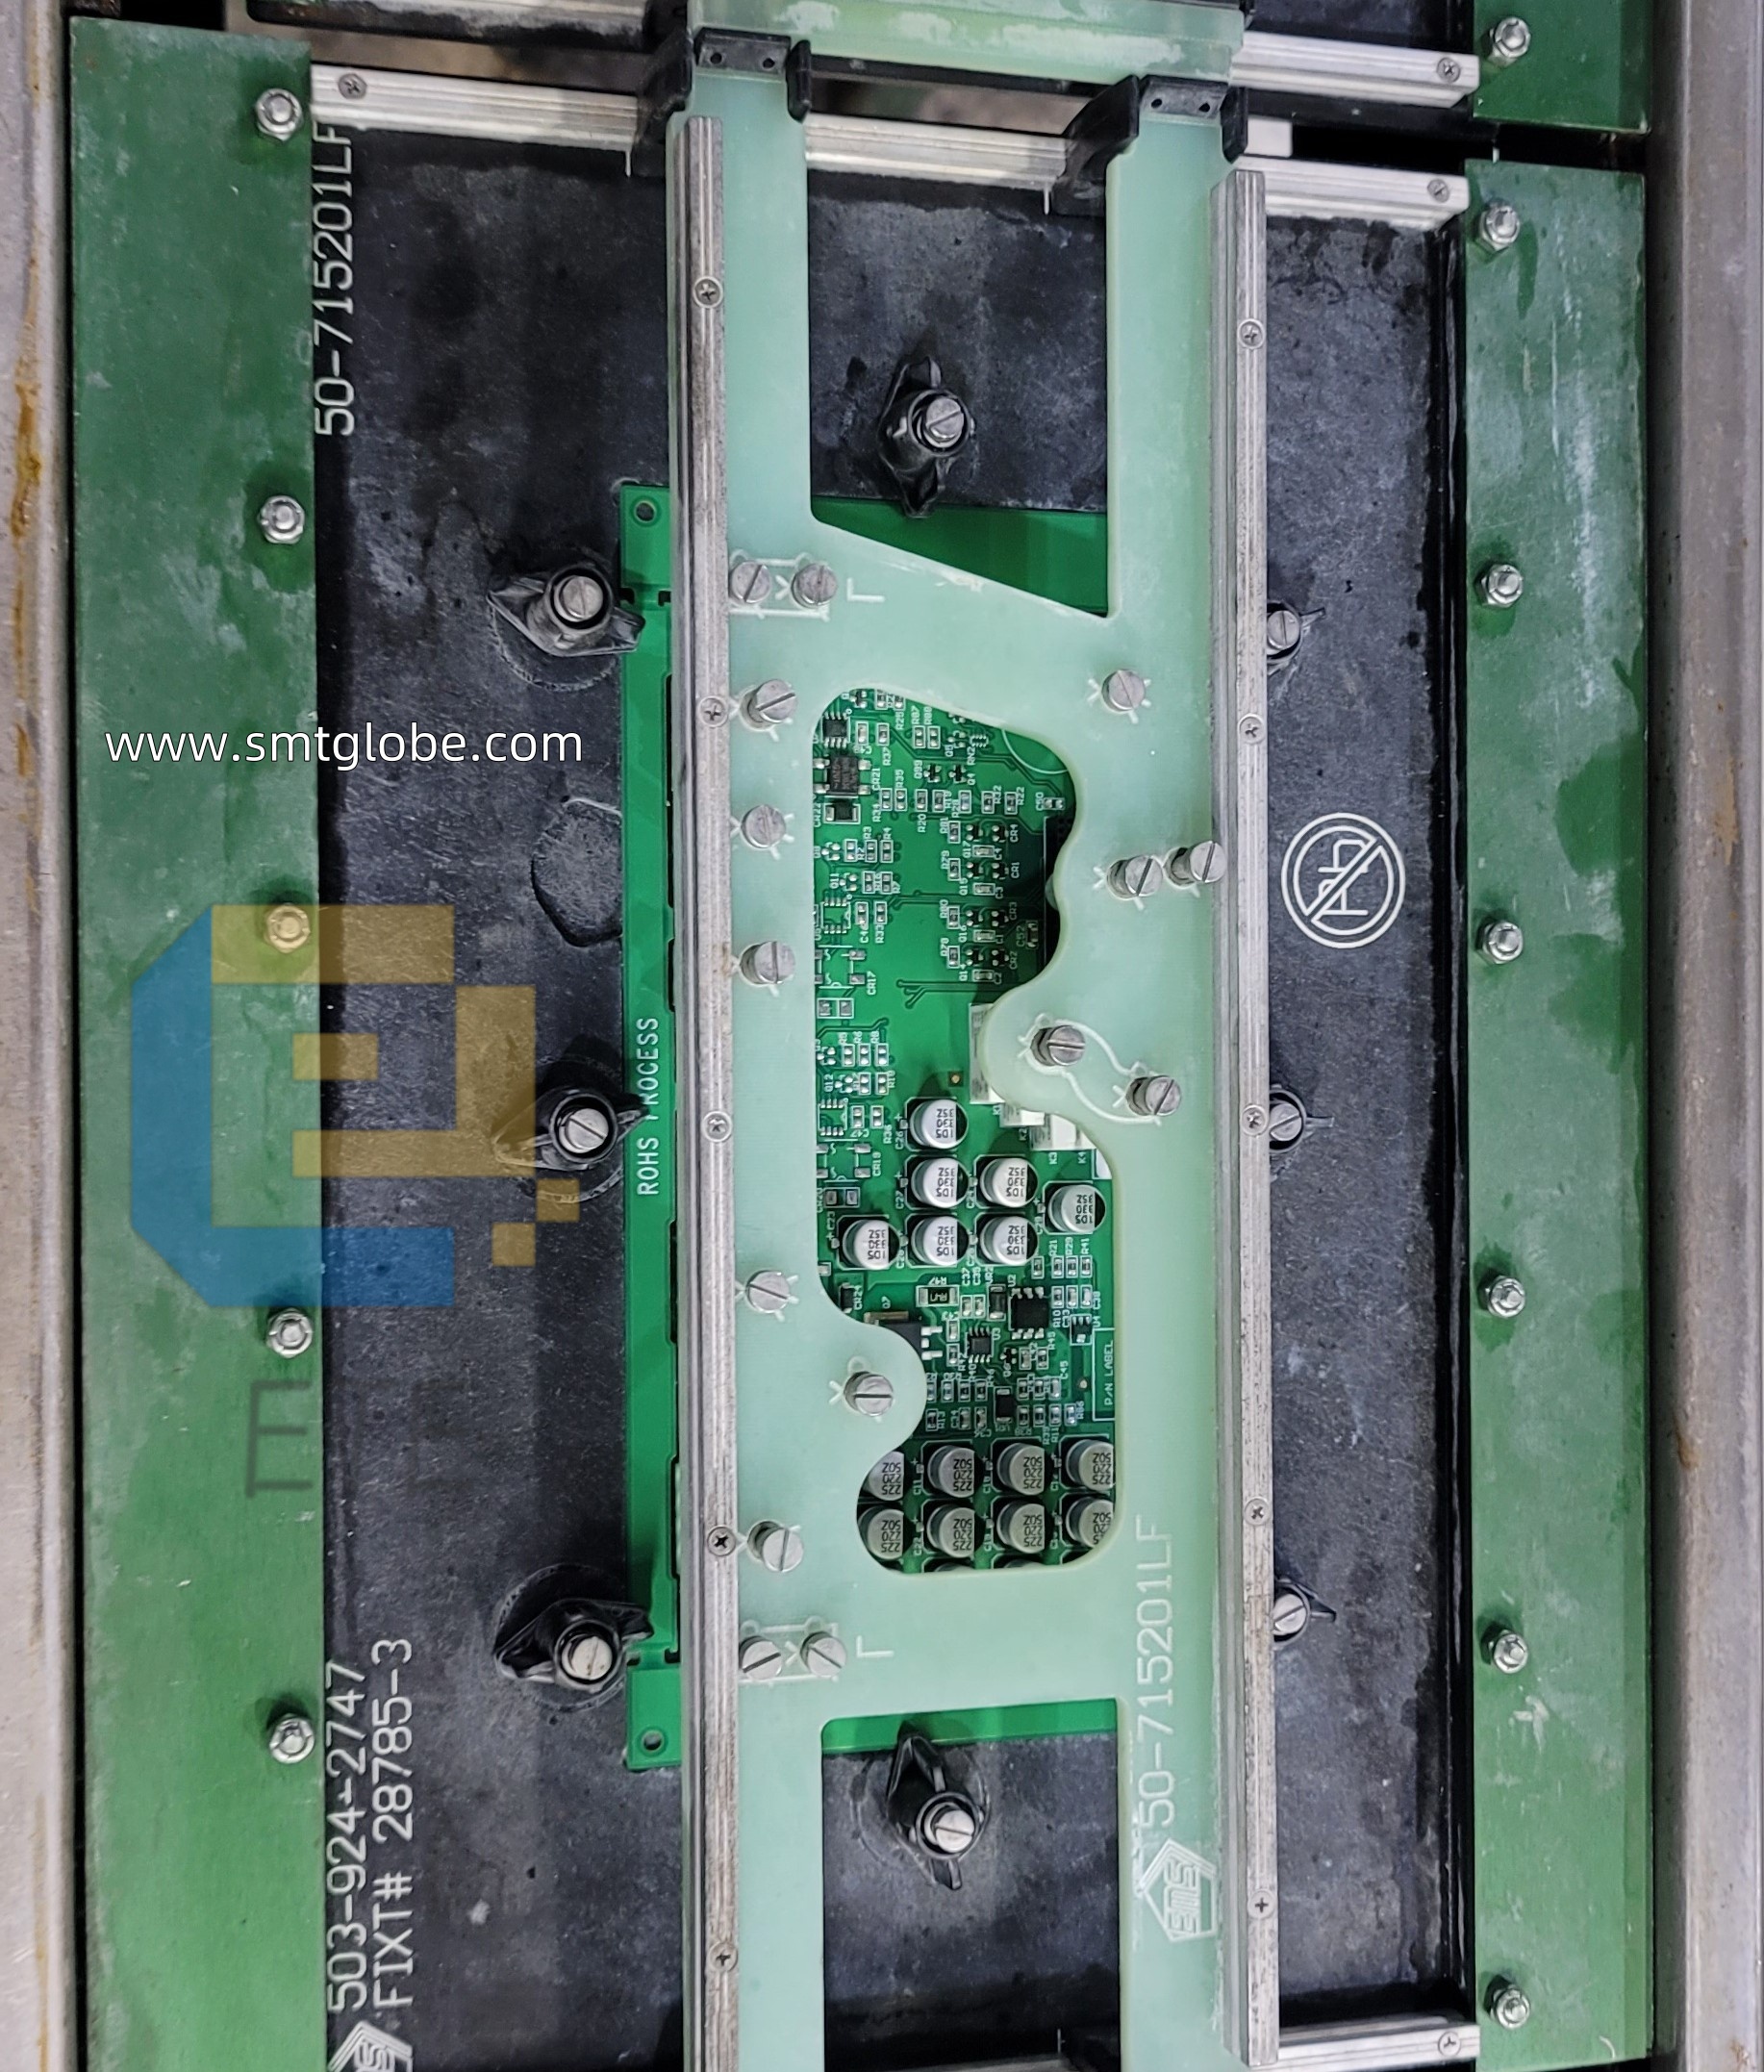
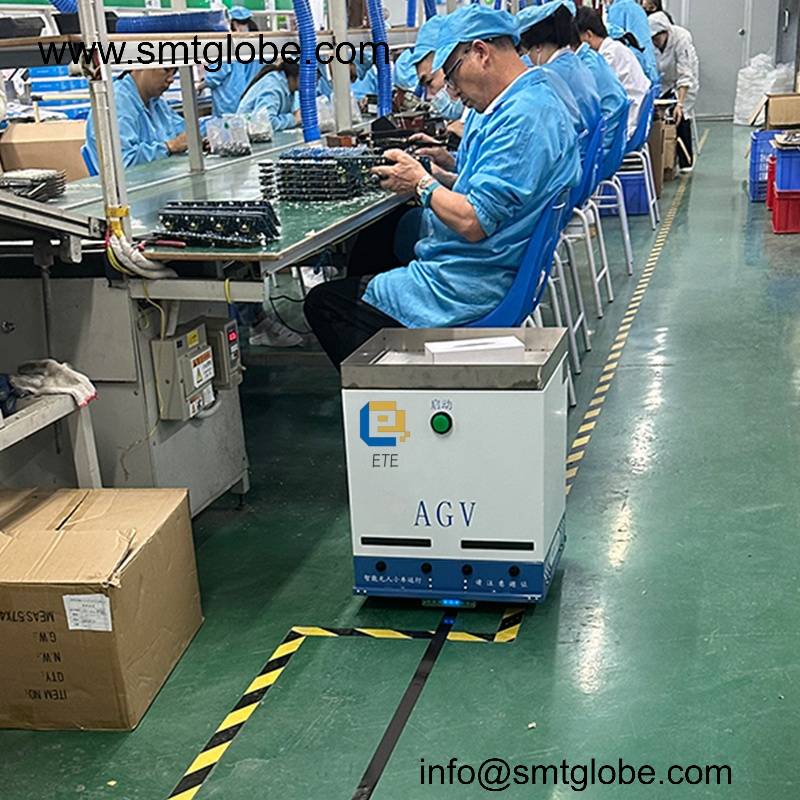
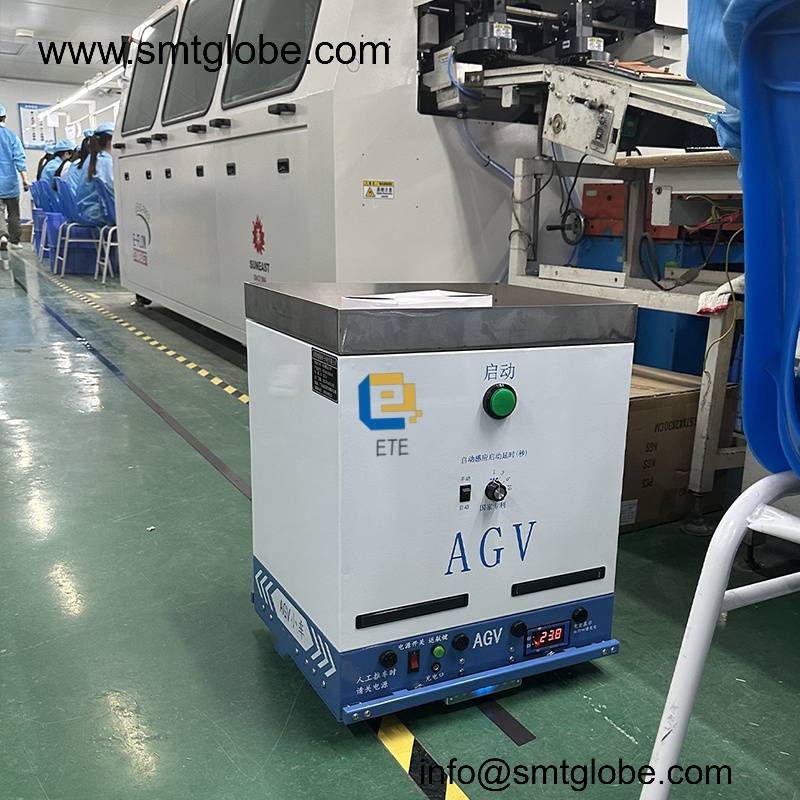
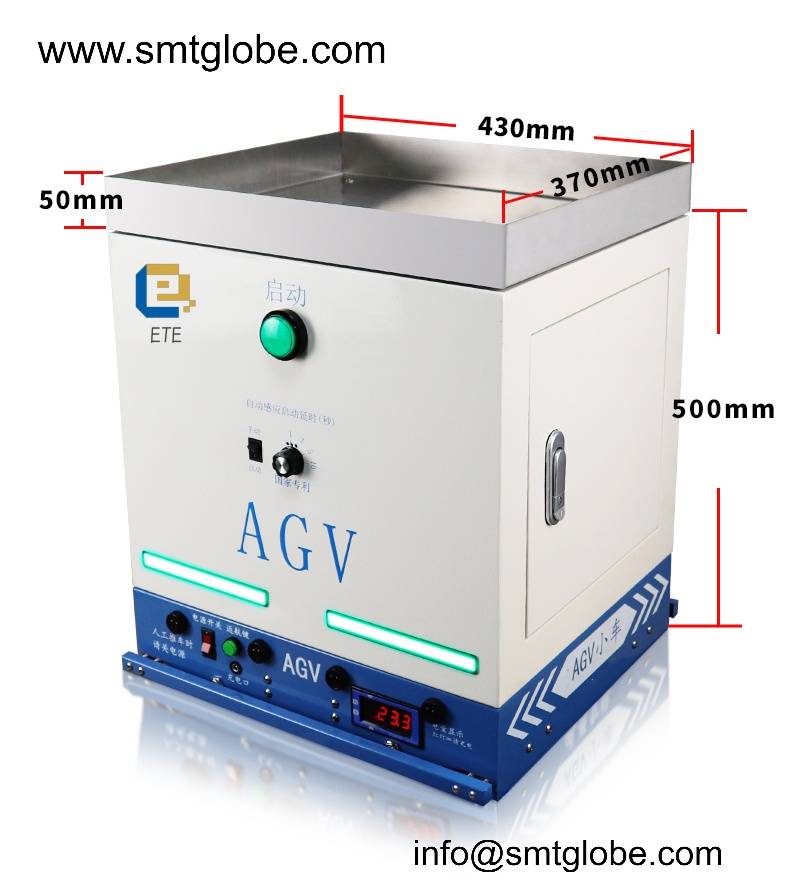
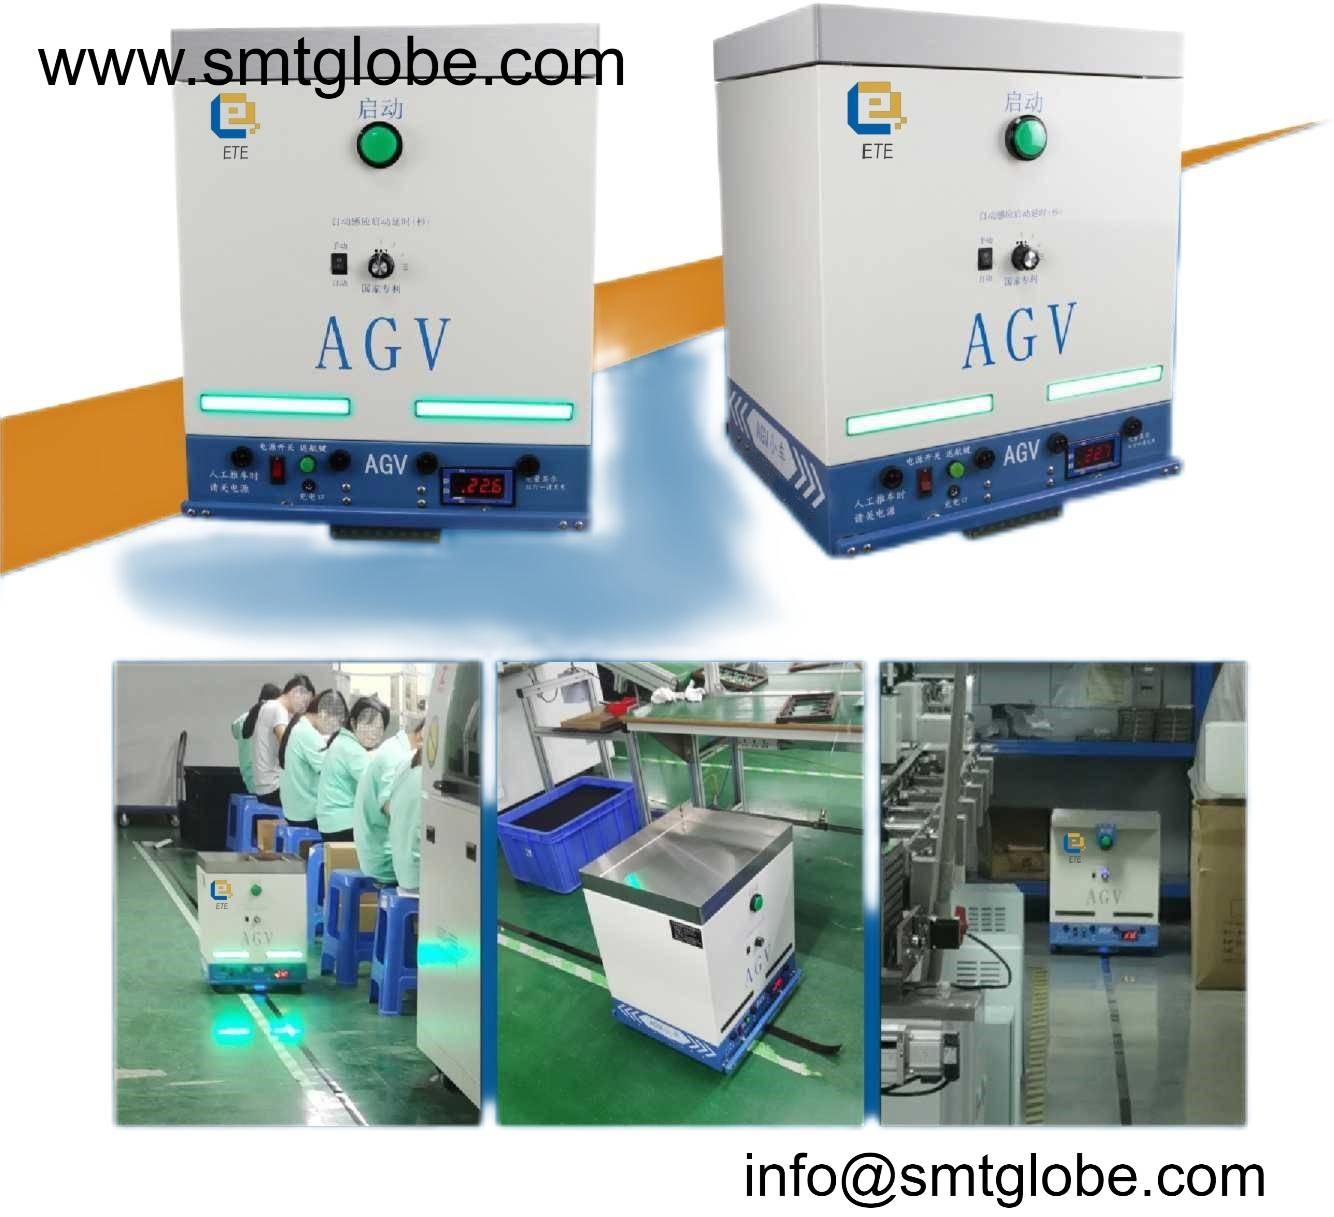
Our SMT AGV robot is for moving wave soldering pallet,PCB and PCB fixture.Our SMT AGV robot offers automation for an electronic manufacturer. The SMT AGV robot for wave soldering pallet moving ETE-AGV30 is specifically for the SMT industry, making the transport of SMT materials efficient and straightforward. This versatile AGV robot is ideal for moving PCBs, ESD magazine racks, wave soldering pallets, and more. With its user-friendly features, the ETE-AGV30 enhances productivity on your production floor.
Key Features of the SMT AGV Robot ETE-AGV30
- Load Capacity: The ETE-AGV30 can carry loads of up to 30 kg, making it suitable for a variety of SMT materials.
- Flexible Charging Options:
- Manual Charging: Directly recharge the AGV when needed.
- Battery Replacement: Easily swap the battery for minimal downtime.
- Automatic Charging Station (Optional): This eliminates the need for manual charging. The contactless charging system enhances safety and ensures the AGV can operate continuously.
- Intelligent Alerts: The SMT AGV robot for wave soldering pallet moving ETE-AGV30 is equipped with a low battery alert system that automatically notifies users when the charge is running low.
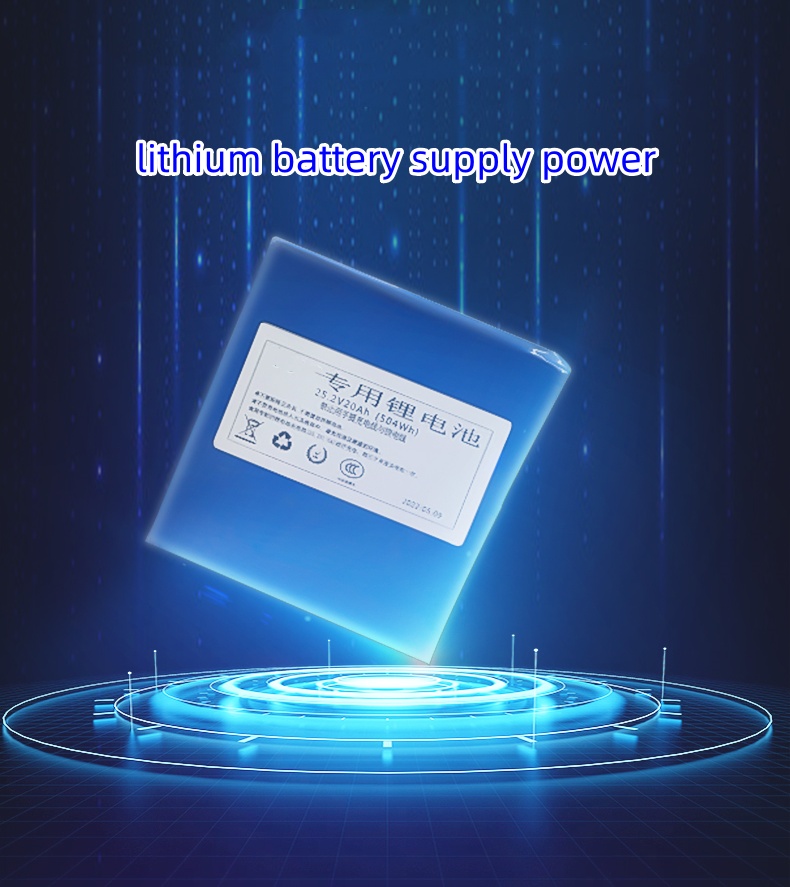
- Extended Battery Life: With a dedicated lithium battery, the AGV provides up to 50 hours of continuous operation. Customizable runtime options are available to meet specific customer needs.
- Warranty and Support: Enjoy peace of mind with a one-year warranty on the AGV and a two-year warranty on the battery. A free accessory package is included with every purchase.
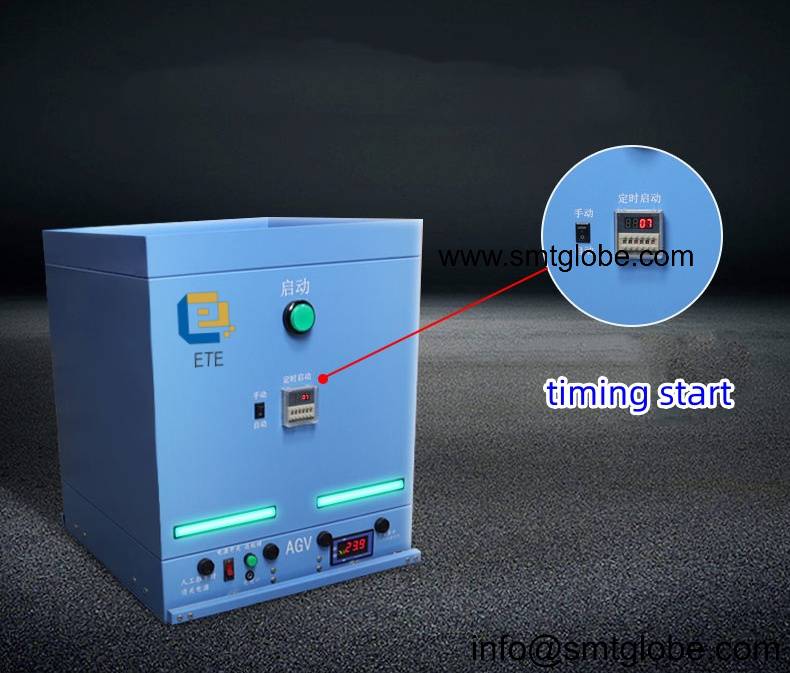
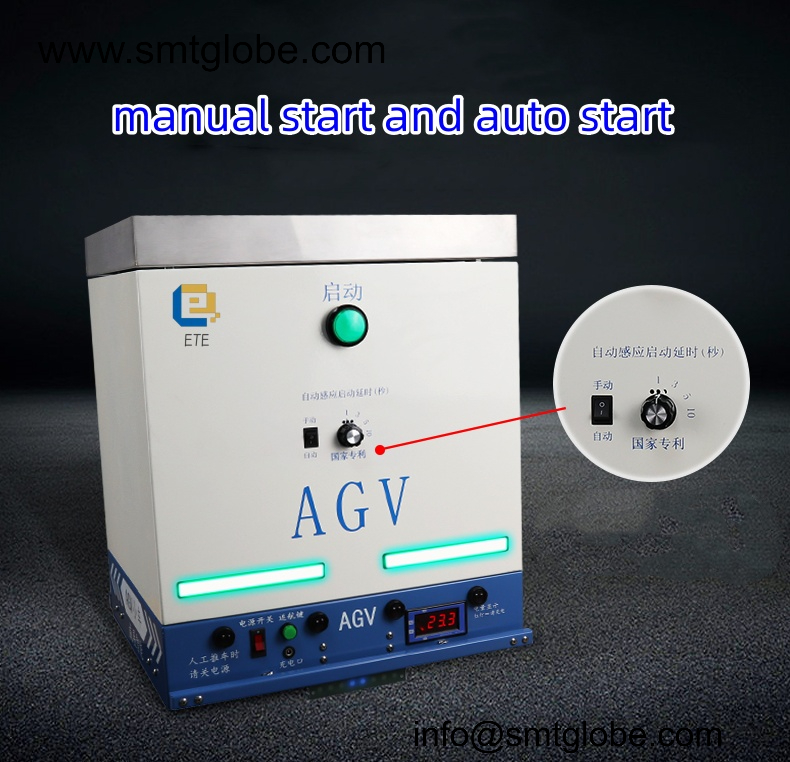
- Startup Mechanisms: The ETE-AGV30 can start in two convenient ways:
- Automatic Start: The robot automatically engages when it detects the weight of a placed object, eliminating manual activation.
- Manual Start:
- At the Start Point: Load your materials onto the AGV and press the start button to begin transport.
- Intermediate Stations: Retrieve your materials and press the start button to continue to the next site.
- End Point: After collecting materials, press the button to return to the starting position.
This flexibility allows users to switch between manual and automatic modes seamlessly and customize the startup delay to fit their operational habits.
Specification
| Model | ETE-AGV30-A | ETE-AGV30-B | ETE-AGV30-C | ETE-AGV30-D | ETE-AGV30-E | ETE-AGV30-F |
| Navigation | Magnetic strip navigation, two-way driving | |||||
| Maximum load | 30KG | |||||
| Driving mode | Single line | |||||
| Maximum speed | 40 meters 1 minute | |||||
| Turning radius | 1.2M | |||||
| Stopping accuracy | 5CM | |||||
| Battery Type | Lithium battery 25.2V20AH | Lithium battery 25.2V20AH | ||||
| Battery life | 50 hours | More than 20 hours | ||||
| Standby time | 100 hours | |||||
| Charging time | 5 hours | 3 hours | ||||
| AGV size (mm) | 370×430X550 | 370X430×550 | 370×430×550 | 370X430X130 | 370X430X550 | 370X430X130 |
| AGV plate size (mm) | 370X430X50 | 430X370X50 | 430X370X50 | No stand | 430X370X50 | No stand |
| AGV weight | 20KG | 20KG | 20KG | 12KG | 15KG | 10KG |
| Drive mode | Geared motor differential ratio | |||||
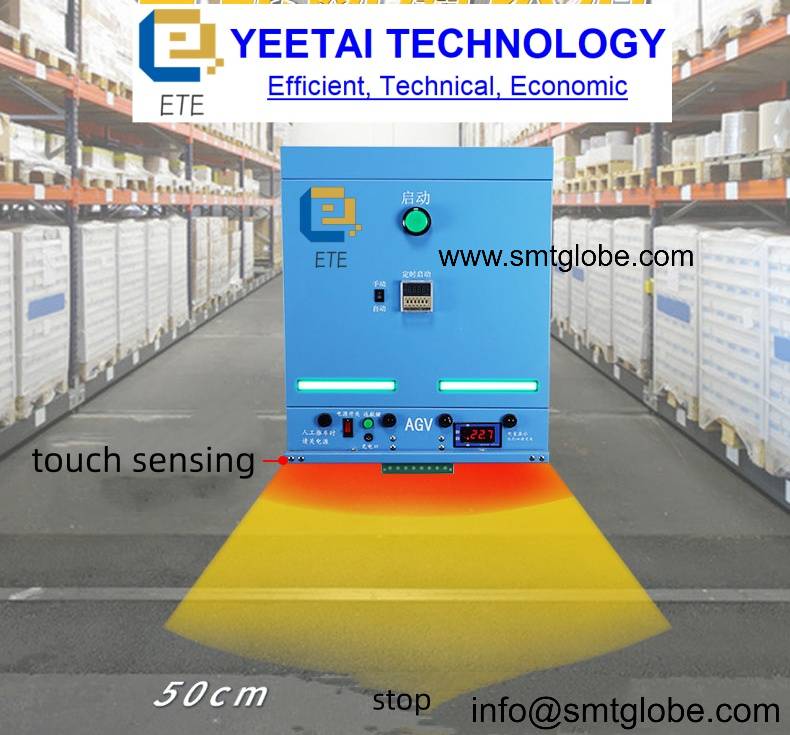
| Obstacle detection method | Infrared 4 on each front | 2 on each front of the infrared ray | ||||
| Touch anti-collision switch strip | Yes | No | ||||
| wireless remote control car | Wireless remote control | No | ||||
| Site selection | Multiple stops | |||||
| automatic start | Automatic start at scheduled time | Gravity induction automatic start | No | |||
| charging method | Manually charge/replace the battery of the car directly | |||||
| Power display | Intelligent alarm | |||||
| Standard accessories | 20m navigation bar, one charger | 10m navigation bar, one charger | ||||
| Warranty time | 12 months | |||||
Configuration Details of the ETE-AGV30
- Single Line Operation: The AGV operates efficiently in a single direction.
- Turning Radius: Maintains a 1.2-meter turning radius to navigate tight spaces effectively.
- Optional Remote Control: A customizable remote control can be provided for added ease of use.

- Advanced Safety Features:
- Deceleration Motor with Differential Drive for smooth operation.
- Infrared Obstacle Sensors to prevent collisions.
- Multi-Site Stop Capability ensures precise delivery of materials.
- Station Delay Start Option for increased operational flexibility.
Setting Up the Single Line Mode
To effectively set up the SMT AGV robot for wave soldering pallet moving ETE-AGV30, follow these instructions:
- Station Placement: Position stations in a sequential order, ensuring that each station is at least 1 meter apart.
- Display Screen Alignment: The screen should correspond to Station 1 for clarity.
- Turning Radius Requirement: Ensure that the turning arcs are no less than 0.8 meters.
- Station Cards: If your setup includes 5-20 stations, place station cards appropriately to guide the AGV.
- Speed Considerations: If targeting speeds above 80%, be cautious when navigating turns. Use deceleration markers placed 0.5 meters before and after turns. This will cause the AGV to slow down automatically, maintaining reliable navigation without veering off course.
Conclusion
The SMT AGV robot for wave soldering pallet moving ETE-AGV30 is a powerful solution for enhancing operational efficiency in the SMT industry. With its user-friendly features, robust construction, and advanced safety protocols, it is designed to streamline material handling.
For more information about the ETE-AGV30 or to discuss your specific needs, please contact us today!
