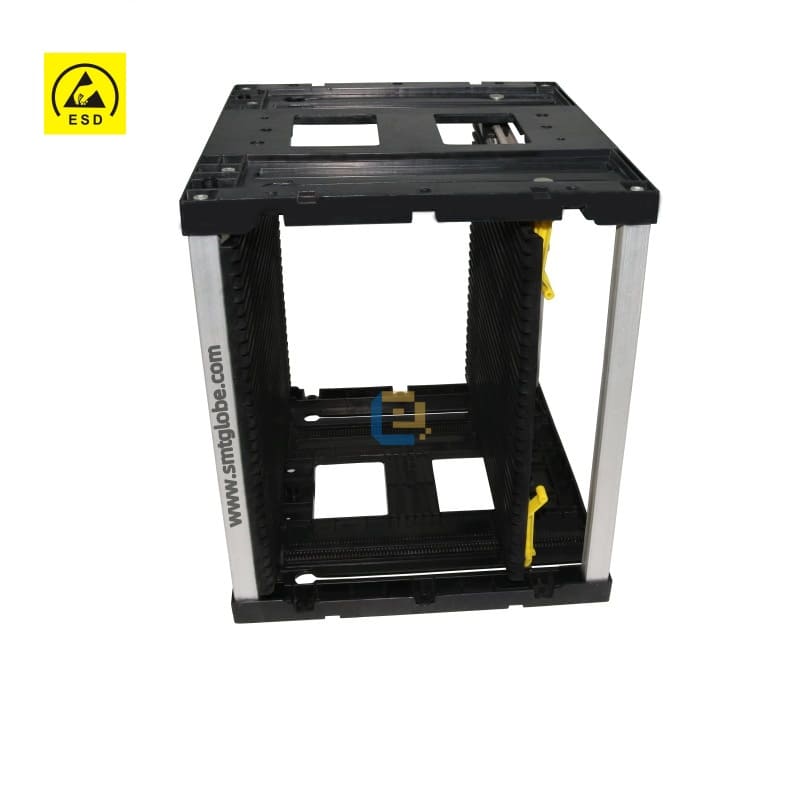
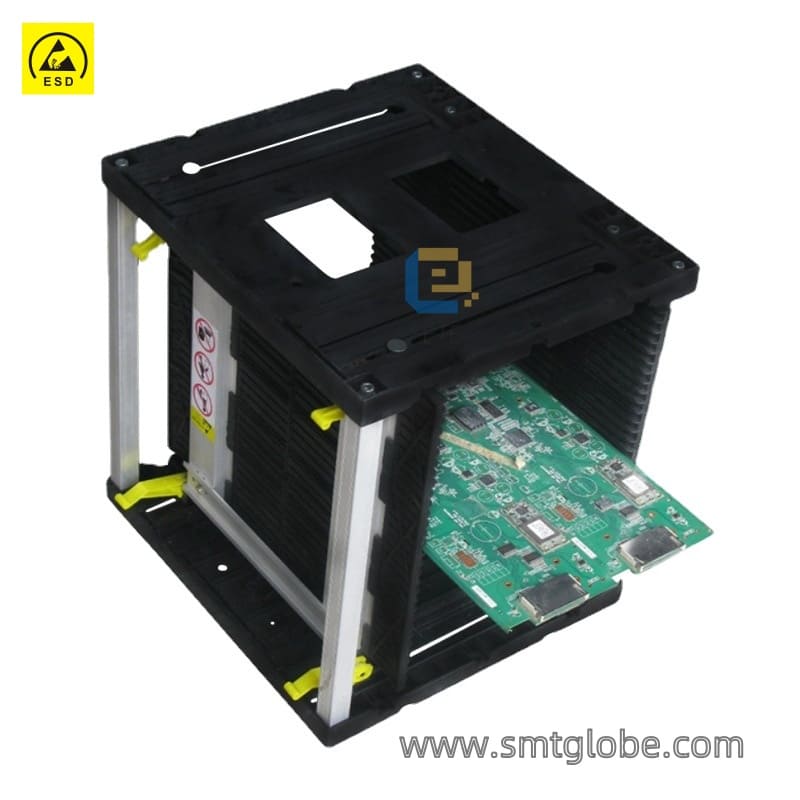
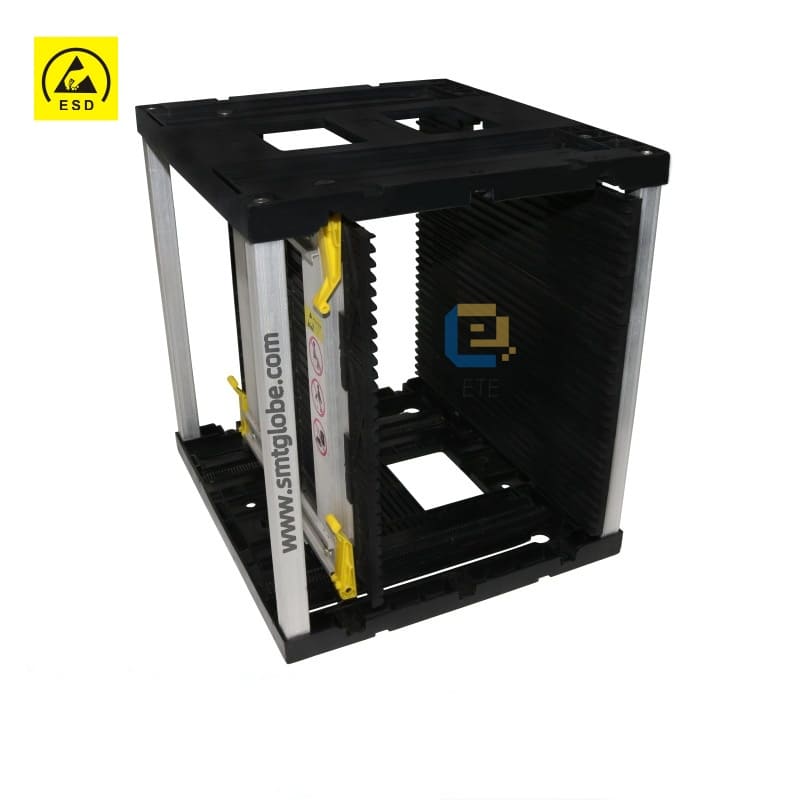
We can help you store your PCB. Our ESD PCB Storage Rack E1530P made of High-quality raw materials with anti-static agents. It provides essential ESD protection for sensitive electronic components. They are essential for modern production management in manufacturing and outsourcing enterprises.
The ESD PCB Storage Racks play a crucial role in streamlining the production process. Ensures efficient organization. Provides a high level of productivity in the electronics manufacturing industry.
Specification
Overall dimensions:350x315x365mm
Groove width:7mm
Slot length: 350mm
Groove depth: 5mm
Number of slots: 30
Adjustment size: 50-250mm
Fine More Magazine Racks to suit your needs in below chart.
| Magazine Rack Dimension LxWxH (mm) | PCB Width(mm) | Slot Length(mm) | PCB Storage Qty(pcs) | Surface Resistance |
| 355x320x263 | 50-250 | 350 | 20 | Surface Resistance: 10^4-10^6 ohms System Resistance: <=10^9 ohms Test environment :25± RH: 55%±5% |
| 355x315x315 | 90-250 | 350 | 25 | |
| 355x315x365 | 90-250 | 350 | 30 | |
| 355x320x563 | 50-250 | 350 | 50 | |
| 355x320x565 | 50-240 | 350 | 50 | |
| 465x400x563 | 50-330 | 460 | 50 | |
| 535x460x570 | 50-390 | 530 | 50 | |
| 535x530x570 | 120-460 | 530 | 50 |
Features:
The top and bottom surfaces of the SMT ESD Magazine Rack from anti-static plastic in one piece. Thus it ensures dimensional accuracy by directly molding the gear racks. With the top and bottom surfaces to prevent any “sticking” during adjustment.
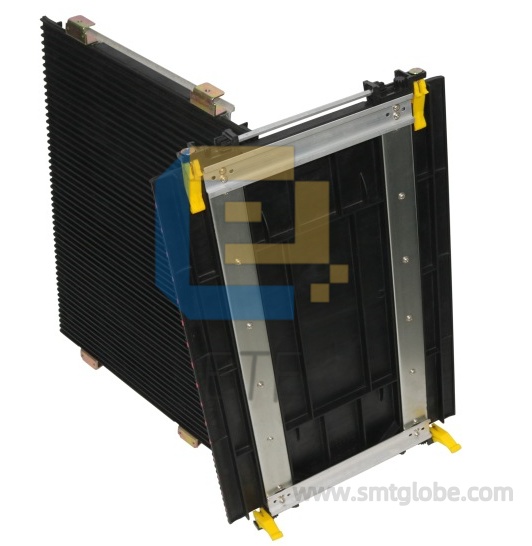
We fasten the fixed plate to the top and bottom surfaces. With the back secured to the aluminum frame. Using six screws for increased stability and durability.
You can adjust the movable plate of the SMT ESD Magazine Rack by sliding within the movable groove. It allows for the adjustment of the distance between the two plates. Greatly accommodates PCBs of different sizes for storage.
Additionally, the aluminum alloy columns of the ESD PCB Storage Rack are formed using an extrusion process. With a wall thickness of 1.5mm and a unique cross-section design. Ensures structural strength while effectively reducing the overall weight of the product.
The structural principle of the ESD PCB Storage Rack: When adjusting the width of the plate, drive the gear with the synchronous shaft. It is under the action of the gear racks on the top and bottom surfaces. Synchronously driving the four clasps to slide in the grooves. Keep the movable plate parallel to the fixed plate and prevent any jamming during adjustment. After adjusting to the desired position, tighten the clasps to secure the movable plate in place.
How to quickly assemble an ESD Magazine Rack? Here you can find more instructions.
Step 1. Prepare the top and bottom surfaces. The top and bottom surfaces are identical but need to be distinguished between the inner and outer sides, with the columns being installed on the inner side.
Step 2. Install the columns Insert the columns into the inner sides of the top and bottom surfaces, then tighten them with the provided internal hex screws. Note: Washers should be added under the screws.
Step 3. Install the fixed plate Align the mounting holes of the fixed plate with the holes on the base plate, then secure it by tightening with the provided internal hex screws. Note: The fixed plate mounting holes only have screws on the rear side, so washers should be added under the screws.
Step 4. Install the movable plate Stand up the upper frame and align the clasps of the movable plate with the circular holes at the top of the slide groove to insert them.
Step 5. Install the top board Place the top board on top (with the inner side facing inwards), adjust the positions of various components to align with the mounting holes, and secure them by tightening with internal hex screws. Note: Washers should be added.
Step 6. Adjust the position of the movable plate Open the four clasps of the movable plate, hold the middle part of the movable plate by hand, and apply even force to push it down into the slide groove.
Note: Check if the four clasps are inside the slide groove. If there is any deviation, manually adjust them.
Step 7. Completion of adjustment Adjust the position to fit the width of the PCB, press down on the four clasps of the movable plate, and the clasps will self-lock to secure the movable plate.

